
Articles
CLONING 101

Dec
Cloning is a technique where we take a donor plant, usually a female we want to keep, and make genetic copies of it by taking cuttings or small branches with growing tips and rooting them to form another independent plant containing the identical DNA structure of the donor plant. There are many methods to achieving getting a cutting to successfully root. For the purpose of this article in the 101 series; we will concentrate on basic information and the easiest and most productive way to clone your plants.
Before we begin to take cuttings we need a few things.
- Clean razor blade.
- PH meter.
- Humidity Dome & Tray.
- Rapid rooters OR rock wool cubes, oasis cubes, Soilless mix. (Your choice).
- Rooting hormone liquid or gel OR Willow extract, Aloe Vera plant. (Powders not recommended).
- Clean water in a large container, or labeled cups if doing multiple strains.
- Misting bottle

Fig #1
24 hours before I intend to do cuttings I have a ritual I like to perform to get ready for the work ahead. Clean and bleach the nursery, make sure your lights are set to the right height above where the dome will sit when on top of the tray. I wrap a closet or area in white poly-wrap plastic and set a towel down to catch any moisture that leaks off the dome. Raised off the floor is best to keep heat level maintained. Then fill a large container with hot tap water and add ph down to it to achieve a 5.5PH. (Hint, Lemon juice can be added as well as vinegar instead of PH down solution). Add your Rock wool cubes or Oasis cubes to this water now, for added C02 content in the water and cubes you can add an air bubbler but it really is not necessary. This container will sit with cubes in it for 24 hours soaking in the 5.5 PH water. During this time wash your domes and trays, even if new, in light soapy bleach water to clean any residue off them and sterilize you’re starting material. If using a soilless medium such as Promix, now would be the time to wet your mix with 5.5 water and fill your tray.
Place your tray lid on for 24 hrs and let the soil settle and soak up the water. It is very important not to soak your medium to a drench. If you can stick your finger in and it feels moist, you are good… If it visually looks wet, you have drenched the soil.

Fig #2
Now that your cubes have sat and soaked in PH5.5 water or your soilless mix has sat and drawn the water throughout evenly, we can start taking cuttings from our donor plant. Remove the Rock wool cubes from their water and give them 3 good shakes until there is not water running out of them and place in the clean tray. If using Oasis cubes 1 shake should suffice and be sure to handle gently as not to break them apart.
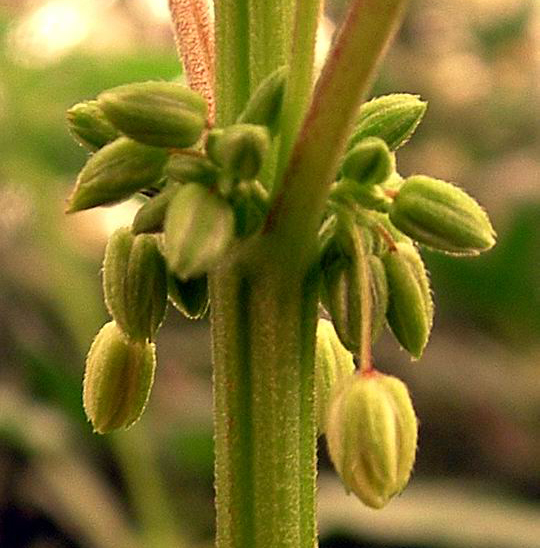
Male plant
So, you have your tray and cubes and donor plant; let’s clone it while pruning your plant for growth so we can get more clones off it in the future. The first few times you clone the plant you will get small numbers, maybe 3-4 off a 45 day old seedling at max. But if done correctly, you create new growth tips and flowering spots. More to come on Pruning for growth next in the 101 series, but we are assuming you are at pre-sexing phase or phenotyping phase and just want to save the seedlings you have and back them up with a genetic clone or 2 at this point in the lesson.
What makes a good clone? In time your eye will be able to look at the plant and actually sculpt it and train it to perform or look a certain way. A good clone is about 5” long and straight with more than one growing tip on it. It should have growing nodes under the spot you plan to cut as the idea is once you take this cutting, those nodes with stretch and each turn into a growing branch in turn providing more cuttings at later intervals for the grower. We term this a Mother plant and keep them in perpetual growth cycles, harvesting them for clones when needed for our medicinal or production gardens. The idea is to let the plant recover after the cuttings are taken and each time it will get bigger and rounder providing a lifetime of cuttings for you off this 1 seedling.

Fig #3
After shaking the cubes out or checking your mediums dampness and are ready with clean tools and have your plant or plants chosen, you are ready to begin taking your cuttings. You want a strong cutting so look for a branch with at least 5-6 nodes on it. (Fig#1)
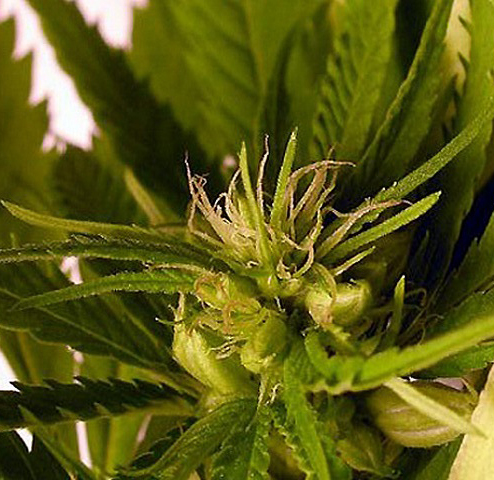
Hermaphrodite plant
You only need the top 5” of this cutting so if there is decent node growth beneath where you intend to cut, this is a good choice of branches. You will use the razor to make a cut down close to the growing point you are leaving. (Fig#2)
Place the cutting right into the cup of 5.5PH water. Cutting the plant this way and not leaving a stem allows the plant to repair itself closer to the new growing tips and not waste time and energy diverting food up to a dead end. Follow these steps until you have your container or multiple labeled/numbered cuts filled with what you are taking from the plant. Tops work very well as do secondary and third branches as they have the most growth and cellular division at this time. (Hint if you run out of time or supplies, you can keep cuttings in a glass of water in the refrigerator for up to 48 hours and slow everything down a bit until you can get to them).
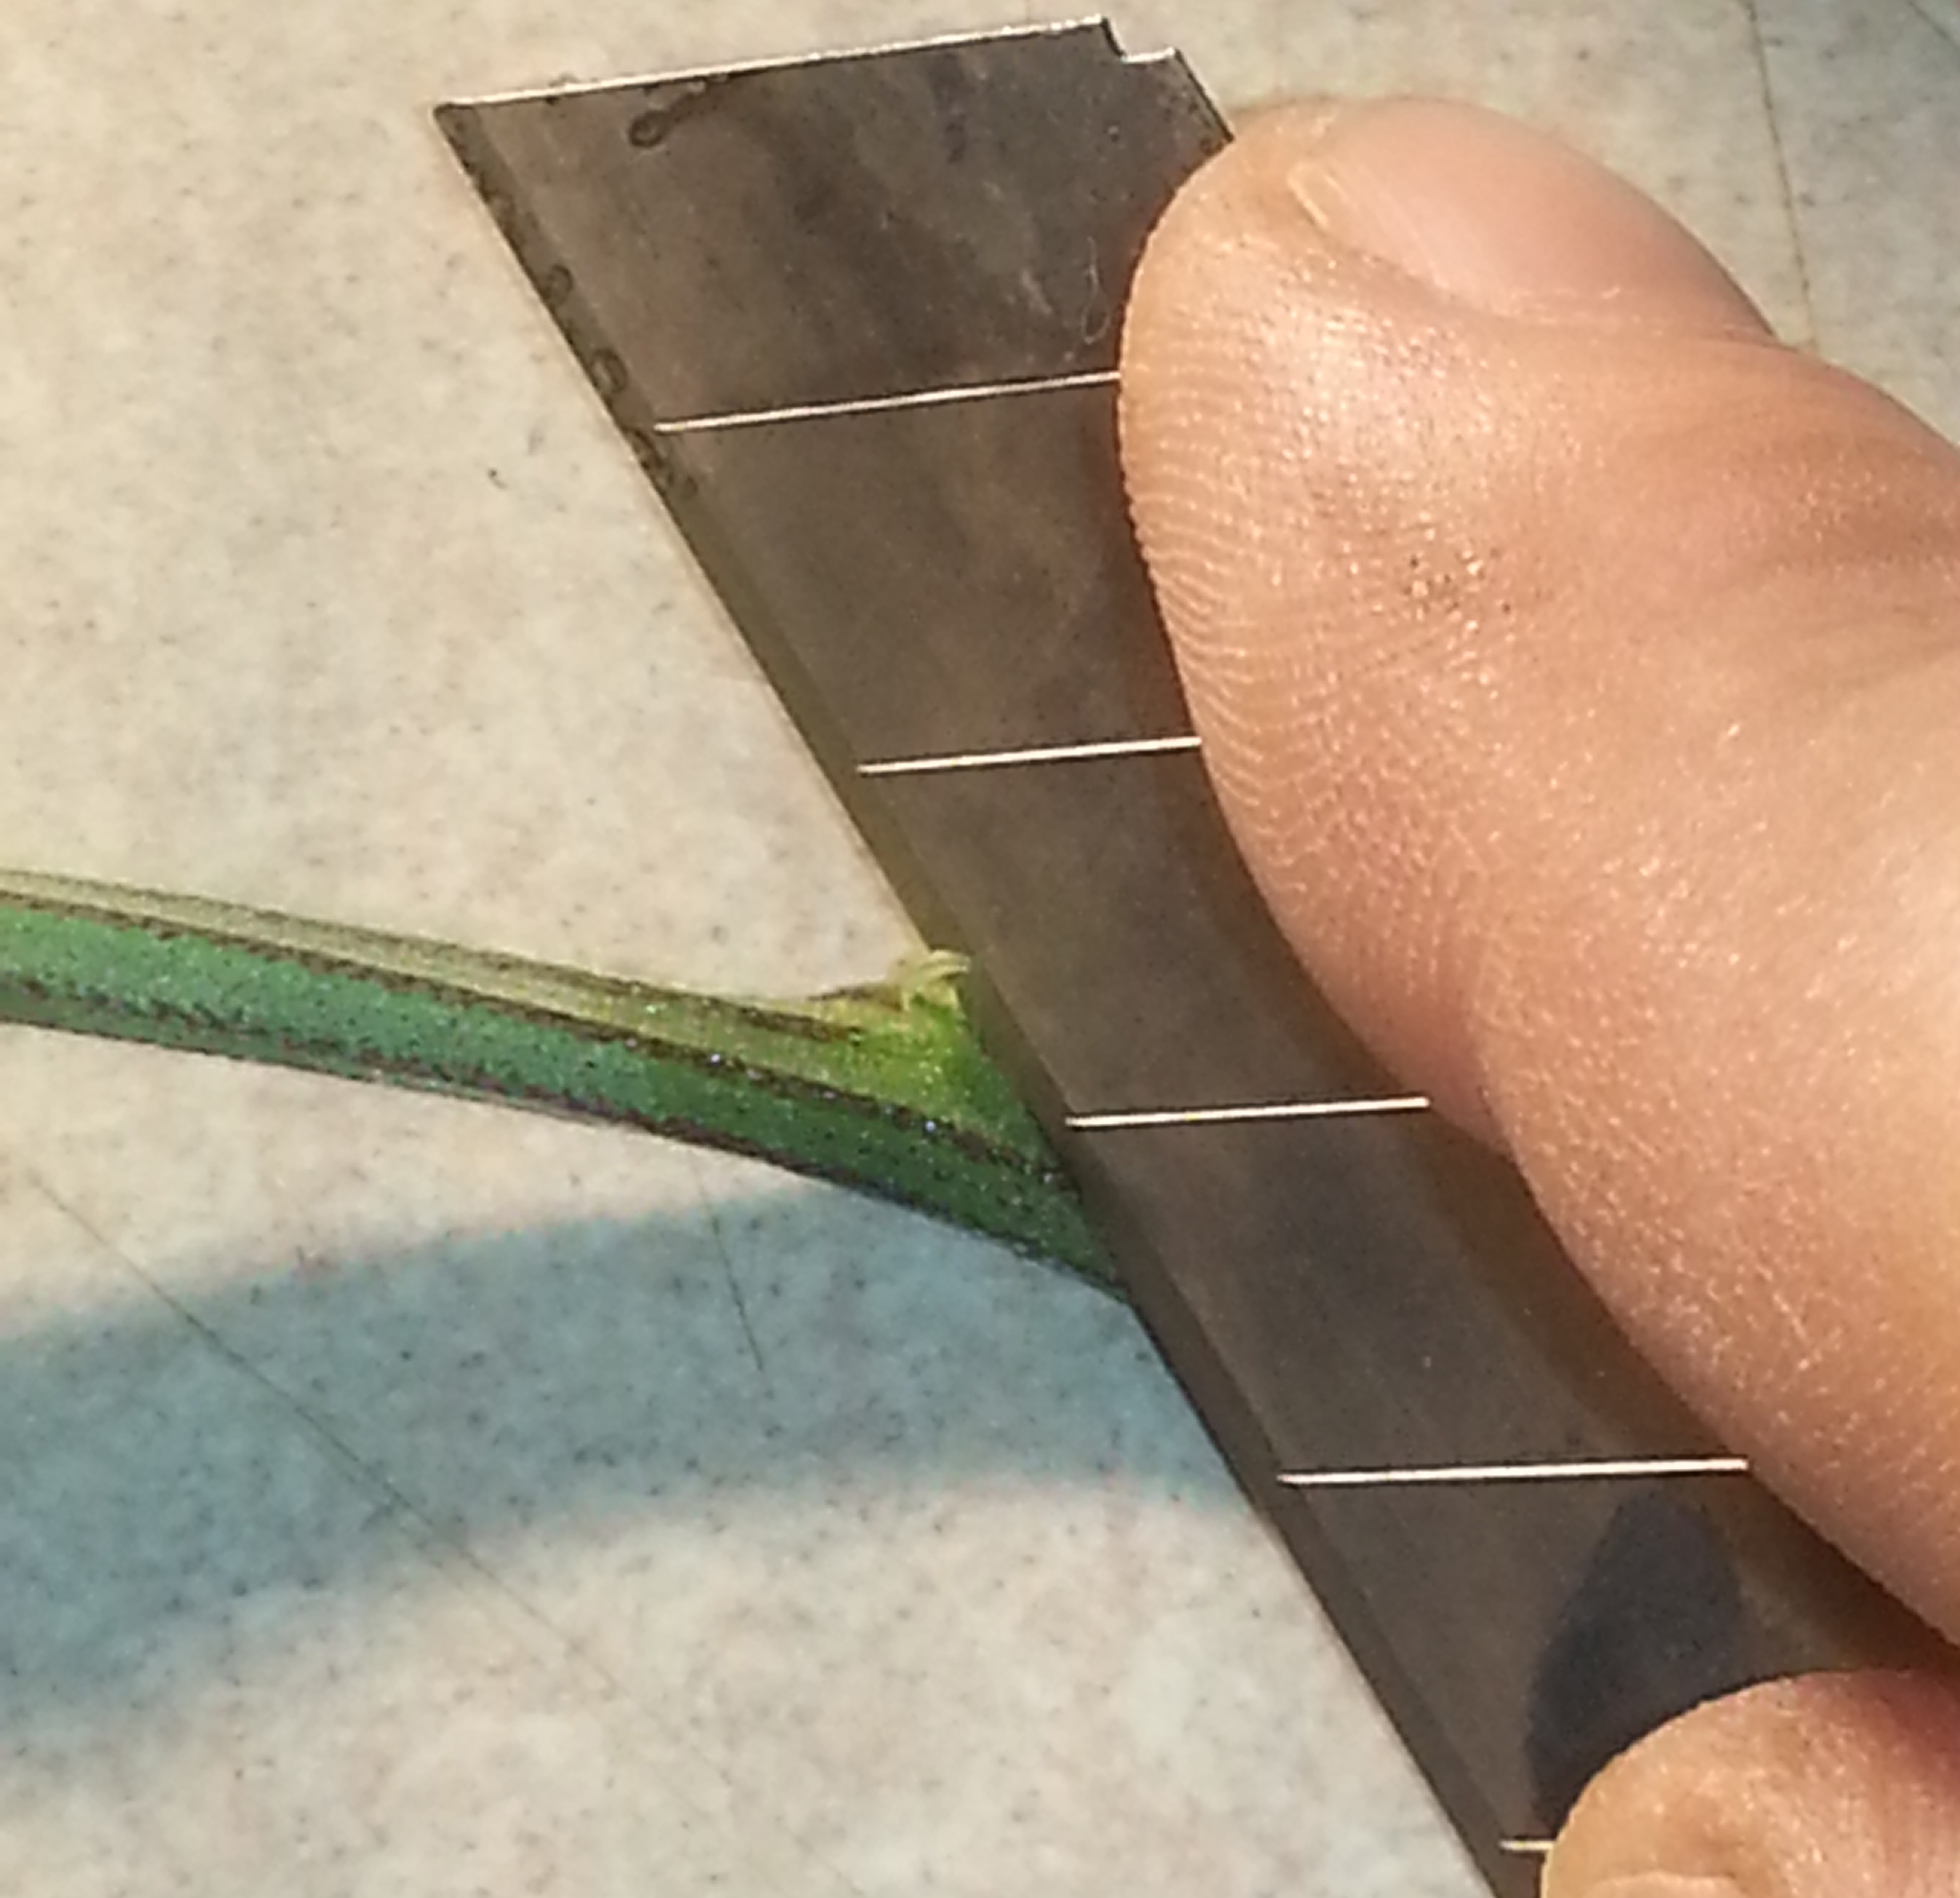
Fig #4
Now you will take your cuttings to a nice clean surface next to your cubes or medium and choice of rooting stimulant. I recommend Root Stimulating liquid at 3000PPM, a rooting or cloning gel, also available at any hydroponics store. However you can use Willow extract or the gel from a freshly cut Aloe Vera plant for that all natural TLO approach. For this article, we are using a liquid root stimulator at 3000PPM and rock wool cubes (Fig#3).

Fig #5
Here we are going to do the secondary cut, or node dissection and soak it straight into the liquid root stimulator, about 2” up the stem from the cut for 20-30 seconds before placing it in the cube or medium.
The secondary cut removes any air pockets that got in the stem during taking the cutting. It also allows you to make a crosscut through the last node of the clone (Fig#4). This crosscutting the node is important as the plants cells gather and elongate and specific junctions on the plant, the nodes being the most active. Clean off the leaf and calyx’s (if any present) as well as the stipule (green spikes on sides of branch) with a straight razor and cut the node on a 45* angle (Fig#5).
Once secondary cut is done, place in root stimulator and repeat allowing the first clone to soak up the liquid or gel. After a 20-30 second soak place, in rock wool cube or Oasis cube (Fig#6) & (Fig#7). (Hint , Damp soilless mix has larger mortality rate than cubes due to enzymes and microbes in the soils). Fill your tray and write or put a piece of tape alongside the dome to keep track of the clones. I like to get 2” rock wool with plastic wrap when possible and write rite on the side in waterproof marker so there’s no mistaking what it is later. Once the tray is filled up with clones the tray should be placed back in the nursery under temperatures of 75-80*F with a fluorescent light, T5 or L.E.D light placed directly above the top of the tray. I suggest using 6” dome tops so as not to break your clones as well as keeping the lights a good distance away from the cuttings as they root.
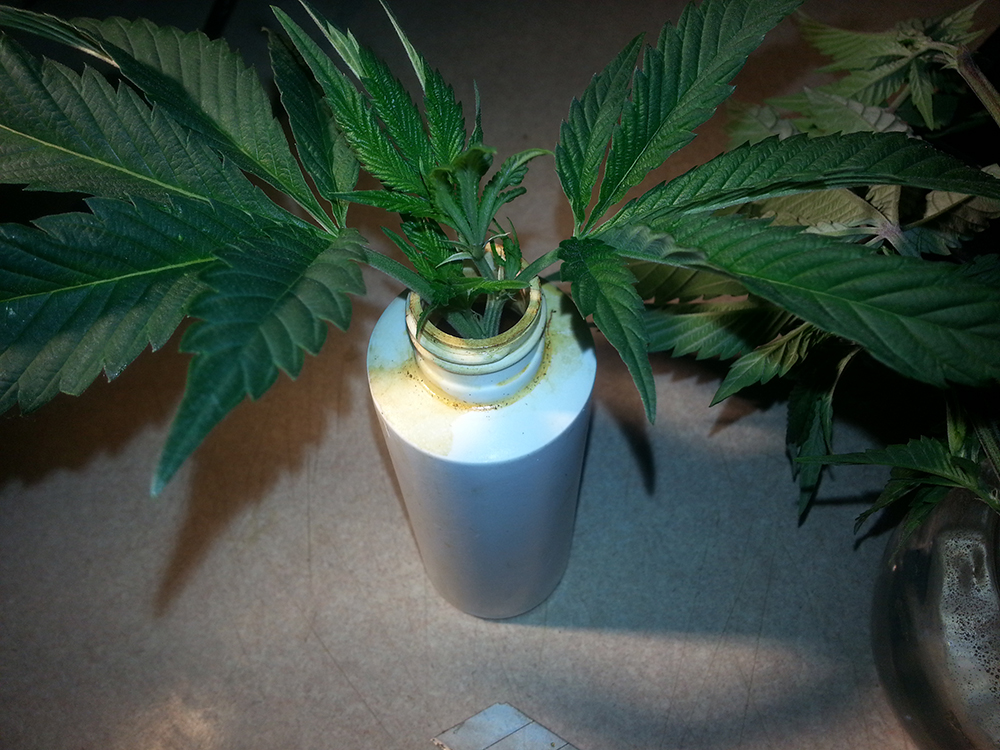
Fig #6
Within 9-14 days you should have big white roots shooting through the cubes and possibly even from the stem (Fig#8) & (Fig#9). It is now it is time to plant these now genetic clones of their host and begin the army. Your donor plant should be repaired by now and a good shot of nitrogen should kick in the natural will of the plant to take up space and start growing the left growth tips and sites into co axial branches.
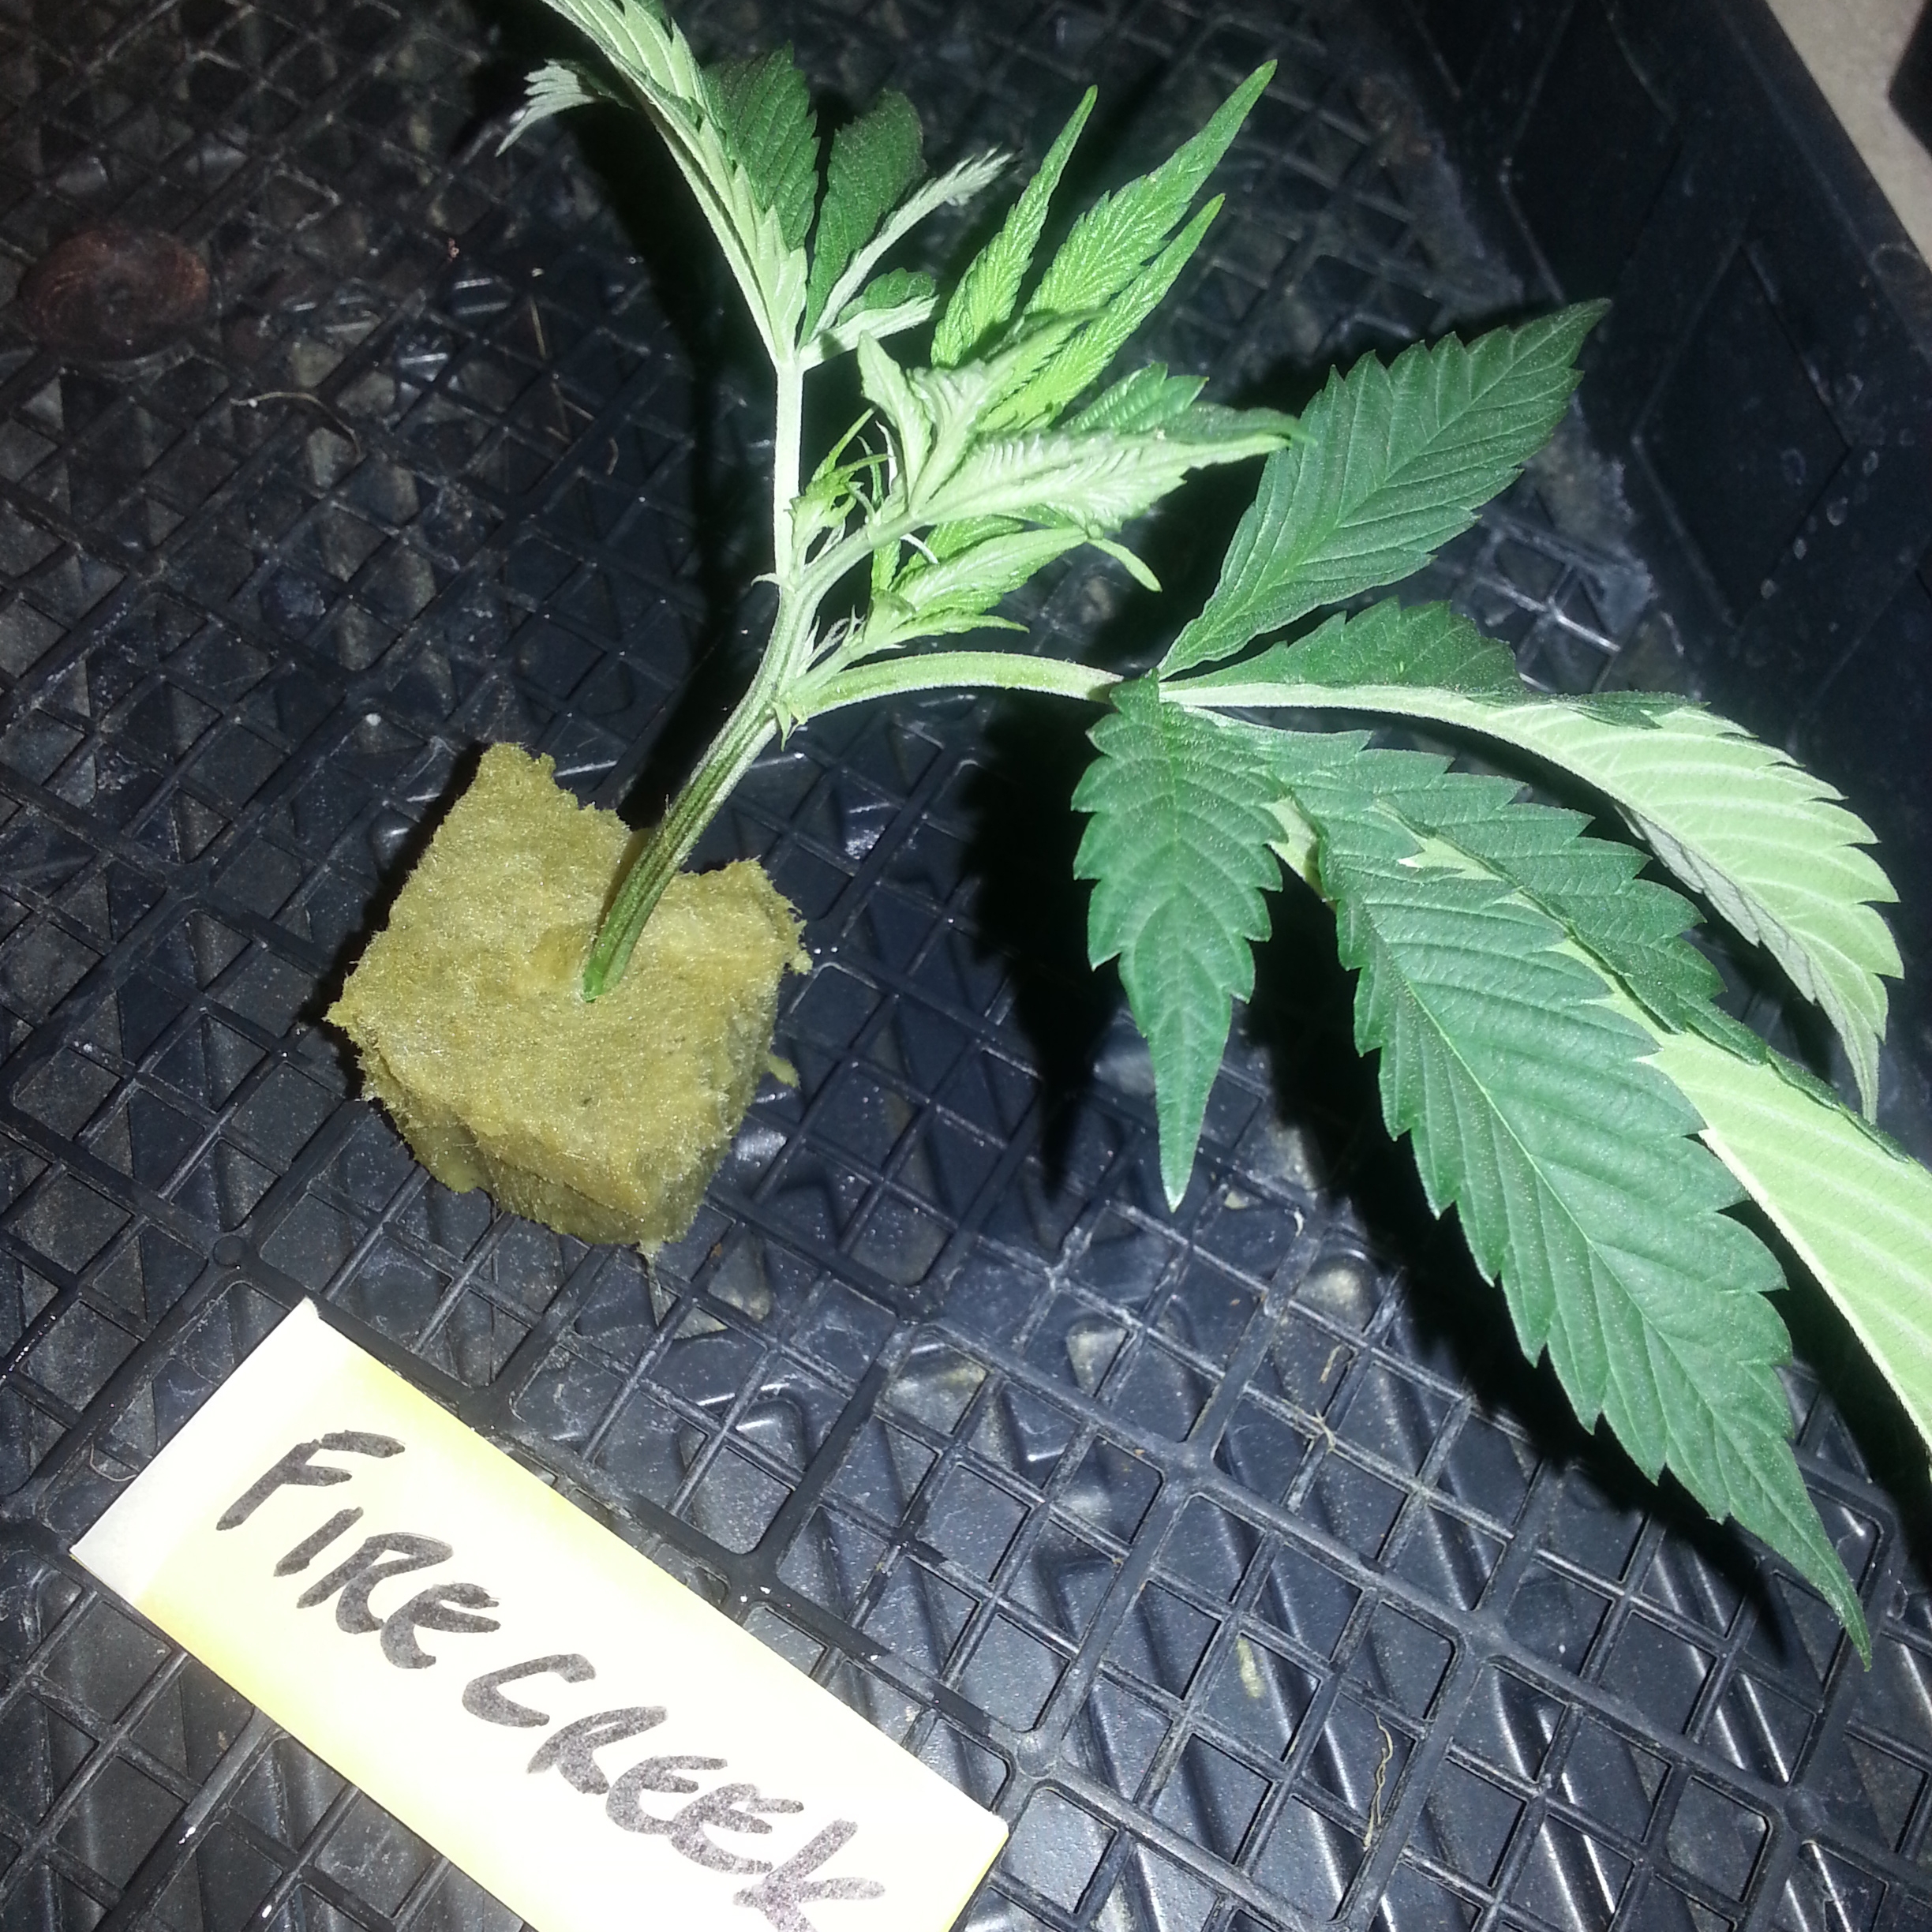
Fig #7
Learning to clone is a curve and too hot, too cold, too wet, or dry will affect the outcome. It is recommended that beginners use a thermometer inside the dome as well as have a misting bottle on hand to up the humidity in the dome to stay around 70%. At times you may find your cubes are getting too dry, I will add a half a cup of 5.5PH warm water to the entire tray evenly just to remoisten the cubes.
Unlike seedlings clones will act the age of their donors, as soon as they have roots and they are planted you can begin to feed full strength nutrients to them. I like to put a small fan on them and give them 10-12 days under 20 hrs of light before flipping them to the 12/12 photoperiod for flowering. Doing it this way with enough clones should give you an even canopy and a very healthy harvest of sea of green (SOG) style growing (Fig#10)
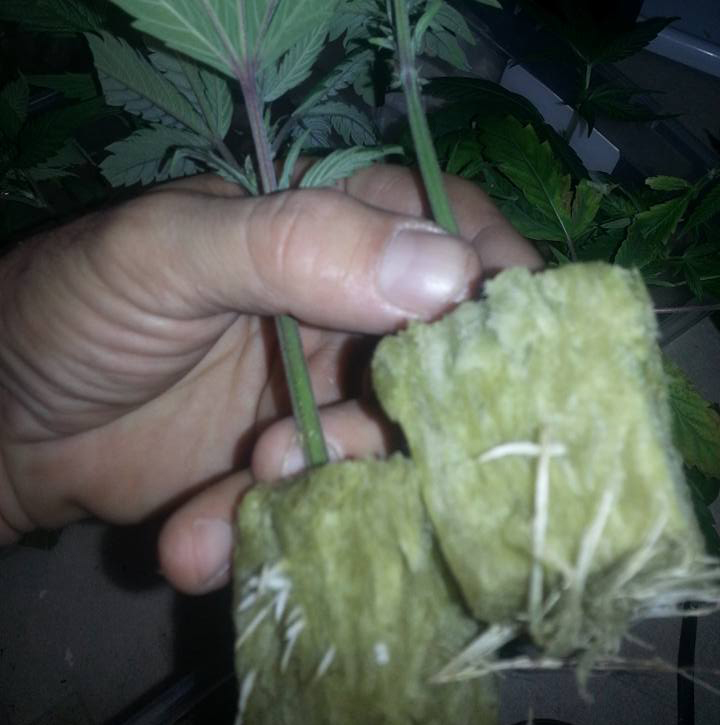
Fig #8
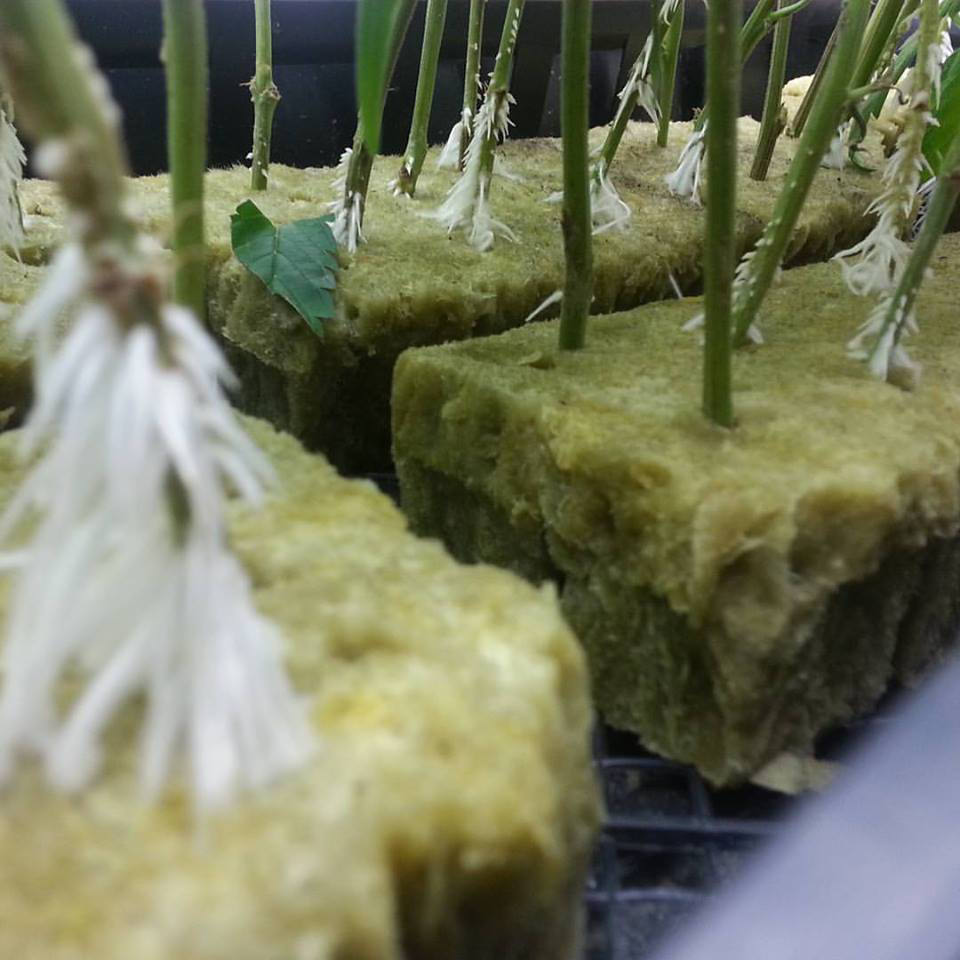
Fig #9